
Why Commercial Gasket Installation Is Harder Than It Looks
May 10, 2025 · Cal Gaskets
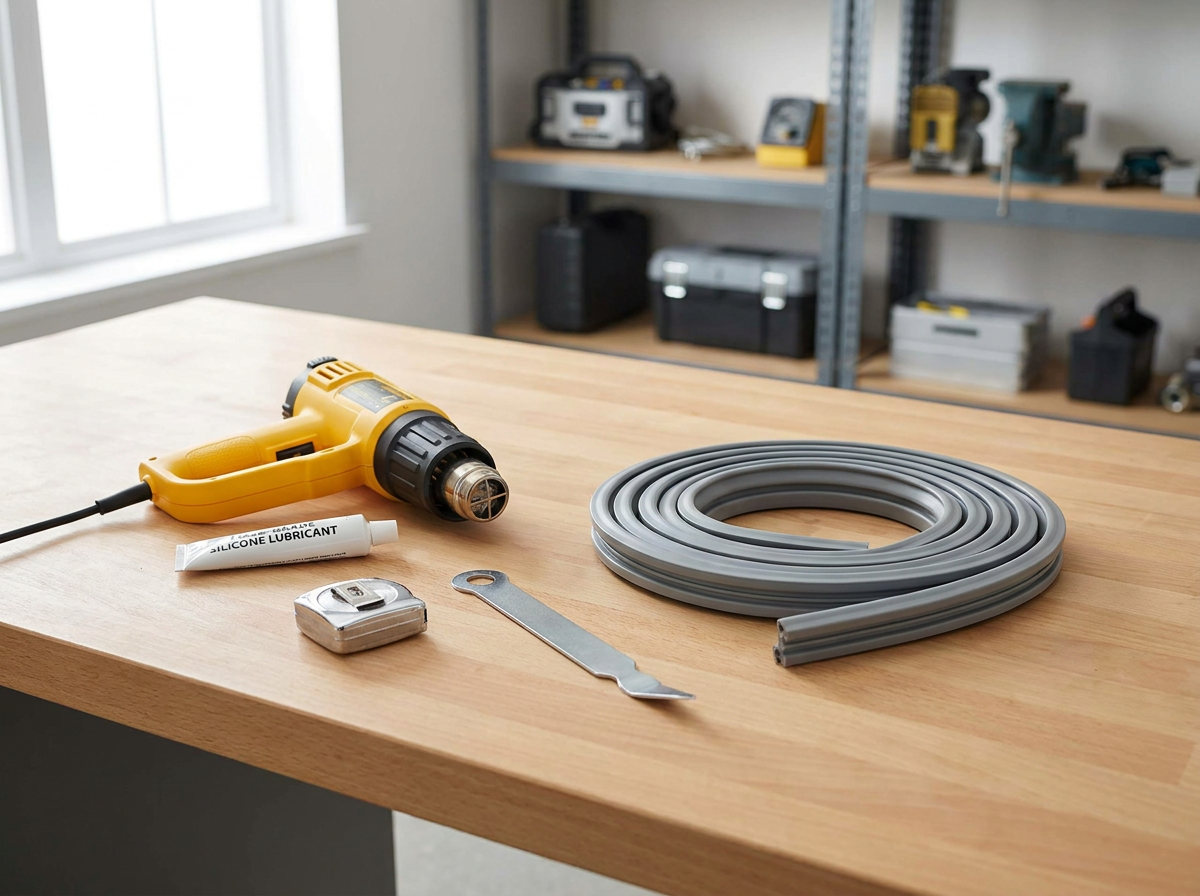
We get calls every week from operators who tried to replace a gasket themselves and ran into trouble. We don't say that to make anyone feel bad — commercial gasket installation genuinely looks straightforward until you're standing in front of the unit with a new gasket in hand and things start going sideways. After years of doing this work across Northern California, here are the real problems we run into in the field — and why the right tools and experience make all the difference.
The Tools You Actually Need
Most people assume a gasket swap requires nothing more than their hands. In reality, a proper commercial installation calls for several specialized tools — and using the wrong substitute for any of them leads to a seal that fails within weeks.
Heat Gun
Commercial PVC gaskets — especially those destined for freezer units — are stiff. Cold storage environments make them stiffer still. Without a heat gun, you cannot properly shape the corners. The gasket won't bend cleanly to a 90° angle, and forcing it cold leads to cracking at the corners or a corner that springs away from the frame the moment you stop holding it.
A heat gun isn't something most kitchens have lying around, and a hair dryer doesn't get hot enough or concentrate heat precisely enough to do the job correctly. Getting the temperature right matters too — too little heat and the PVC won't flex; too much and you melt or distort the gasket profile, ruining the seal permanently.
Food-Grade Silicone Grease
Gaskets need lubrication during installation to seat properly in the retainer channel and to allow the door to close without the gasket binding or bunching. Standard petroleum-based greases and lubricants cannot be used anywhere near commercial food equipment — they're a direct health code violation.
The only acceptable lubricant is food-grade silicone grease (NSF H1 rated). It's not the kind of thing a typical hardware store carries, and we've seen more than a few DIY attempts that used WD-40, cooking spray, or dish soap as a substitute. None of those work, and some actively degrade PVC gasket material over time. A health inspector who spots a non-food-safe lubricant on your refrigeration equipment during an inspection won't overlook it.
Gasket Installation Tool
Snap-in gaskets require a flat, smooth tool to press the dart uniformly into the retainer channel without tearing the gasket lip or damaging the channel itself. Many people use a flathead screwdriver. The problem is that a screwdriver tip concentrates force on a small area, which tears the gasket dart or gouges plastic door frames — especially on older units where the retainer channel is already brittle. A proper gasket installation tool has a wide, smooth blade that distributes pressure evenly.
Accurate Measuring Tools
Commercial door gaskets need to be measured to the exact interior dimensions of the door frame — not the door itself, not the old gasket length, not the model number from a sticker. A measurement that's off by half an inch produces a gasket that either pulls at the corners under tension or bunches and folds instead of lying flat. Both result in air gaps. Both mean the job has to be redone.
Problems We Run Into on the Job
Even with the right tools, a commercial gasket installation regularly surfaces issues that weren't visible until you started the work.
The Door Is Misaligned
This is the most common surprise we encounter. A door that's even slightly out of alignment — sagging on its hinges, twisted in the frame, or not closing flush — will never seal properly regardless of how good the gasket is. You can install a brand-new, perfectly measured gasket and still have cold air leaking because the door doesn't close evenly against the frame.
Diagnosing and correcting door alignment requires adjusting hinge hardware, sometimes shimming the door frame, and verifying the seal around the full perimeter after adjustment. It adds significant time to the job and requires knowing what to look for — a misaligned door is easy to miss if you're focused on the gasket itself.
Old Adhesive and Residue on the Frame
On older units — or units where a previous gasket was installed with adhesive — removing the old gasket leaves behind a layer of residue on the door frame. A new gasket sitting on top of that residue won't compress evenly, which creates gaps in the seal. Cleaning the frame properly requires the right solvent (again, food-safe) and enough patience to get the surface fully smooth before the new gasket goes in. It's the kind of prep step that's easy to skip when you just want to get the job done — and it's the first thing that causes a callback.
Wrong Profile, Wrong Fit
Commercial gaskets come in dozens of profiles — the cross-sectional shape that determines how the gasket attaches to the door and compresses against the frame. Many profiles look nearly identical to the untrained eye but are not interchangeable. A gasket with the wrong profile may snap into the retainer channel and appear to be installed correctly, but the sealing geometry is off. It won't compress properly when the door closes, and within a few weeks it's either pulling loose or not sealing at all.
We've seen this most often when operators order a replacement gasket online based on the model number alone. Manufacturing runs change, door configurations vary by production year, and some units require a profile that isn't the default for that model. Getting the profile right requires physically measuring the existing channel — not just matching a part number.
Corners That Won't Stay Seated
Corners are the hardest part of any gasket installation. If the PVC wasn't adequately heated and shaped before installation, the corners spring away from the frame — sometimes immediately, sometimes over the first few days as the material cools and stiffens. A corner gap is one of the worst places for air leakage because it's a consistent, uncompressed opening in the seal.
Fixing a corner that won't stay seated after a failed DIY attempt almost always means removing the gasket entirely, reheating it correctly, and reinstalling from scratch. There's no shortcut — corner cuts or adhesive patches are temporary at best and fail quickly under commercial conditions.
Retainer Channel Damage
On units with plastic retainer channels — which is most modern commercial reach-ins — forcing tools into the channel during removal or installation can crack or chip the channel itself. Once the channel is damaged, no gasket will seat securely in that spot. Repairing a damaged retainer channel is a significantly larger job than the original gasket replacement, and in some cases it means replacing the door panel entirely.
The Real Cost of a Redo
We understand the impulse to handle it in-house. A gasket looks like a simple part, and the installation looks like a simple job. But between the specialized tools, the food-safe materials, the door alignment issues that only show up mid-job, and the precision required to get corners and profiles right the first time — it's the kind of work where experience pays for itself quickly.
The cost of a professional installation is usually recovered within months through lower energy bills. The cost of a failed DIY attempt — a second gasket purchase, a damaged retainer channel, a health inspection flag, or a unit running inefficiently for weeks before someone notices — almost always exceeds it.
Let Us Handle It — Free Inspection Included
Cal Gaskets measures, fabricates, and installs commercial refrigeration gaskets across Northern California. We bring every tool and every part to the job — you don't need to source anything or prep anything. Most single-door installations take under 30 minutes. Schedule a free on-site inspection and we'll tell you exactly what your unit needs.